Step 1. Download and installer paths
Hermes ships multiple installer paths so operators can start from the public download catalog or from the paired Local Runtime workflow.
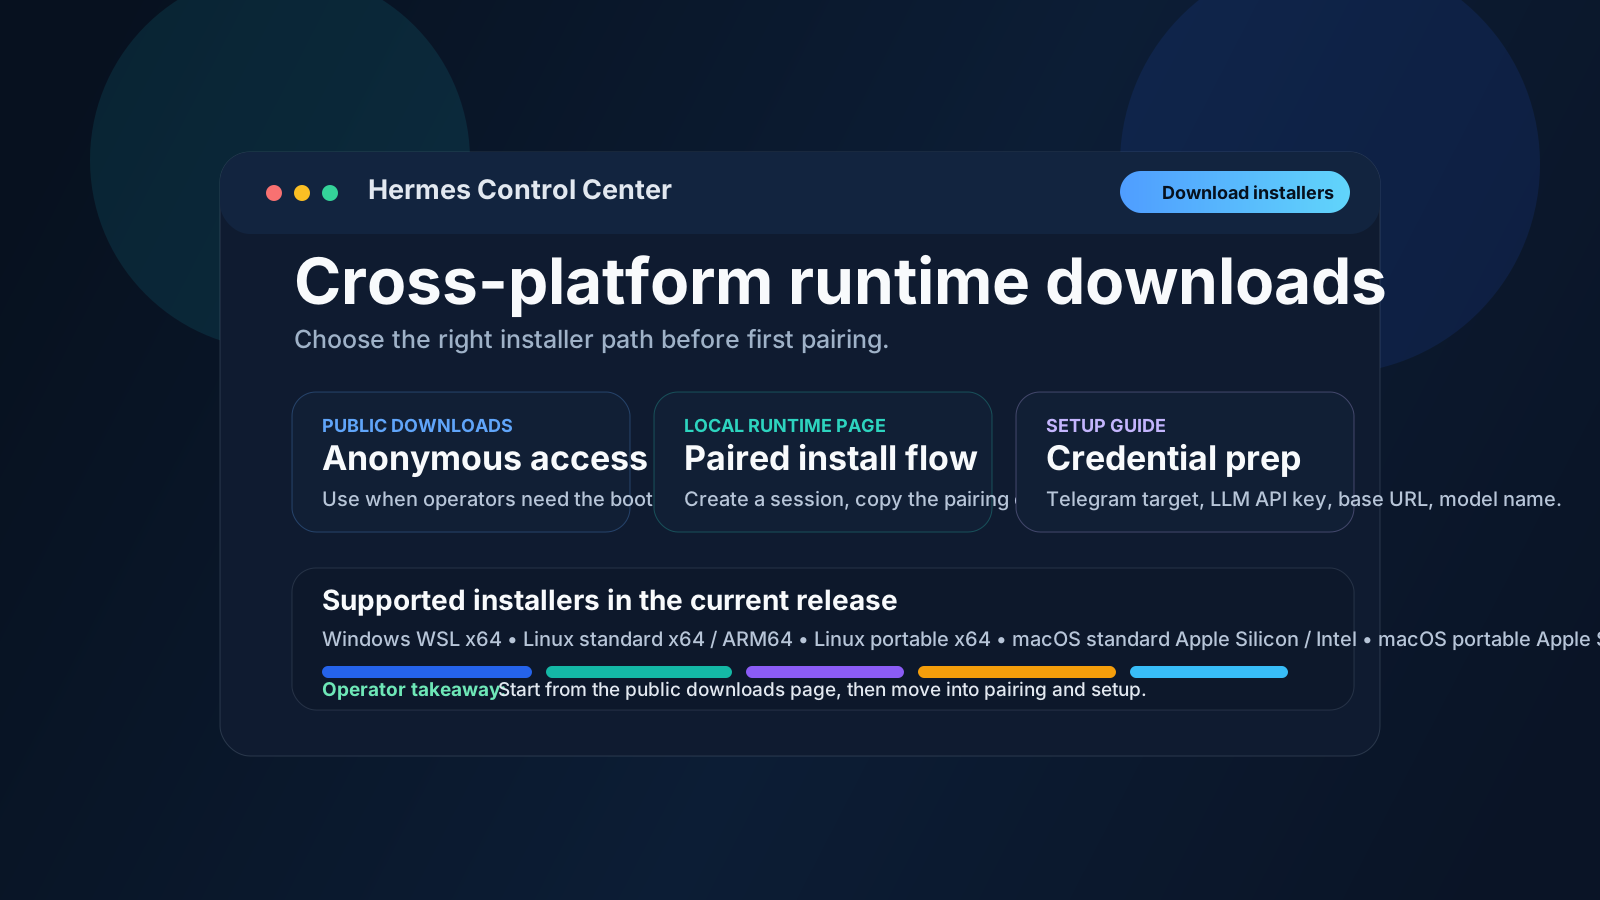
Illustrative product screenshot showing the three operator entry points before installation.
Public downloads Anonymous
Best when the operator needs the installer before a workspace exists or before sign-in.
- macOS Installer — Apple Silicon (ARM64)
- macOS Installer (Intel) — x64
- Linux Installer — x64
- Linux Installer (ARM64)
- Windows WSL Runtime Installer — x64
Portable runtime options Field ops
Use when the runtime should live on an external disk or removable operational kit.
- Portable USB Runtime (Linux) — x64
- Portable USB Runtime (macOS) — Apple Silicon
- Portable mode is selected from the Local Runtime pairing flow
Operator advice: start from the public downloads page when you need the package first. Start from Local Runtime when the operator is already signed in and wants a guided pairing session with approval.
Step 2. Workspace account setup
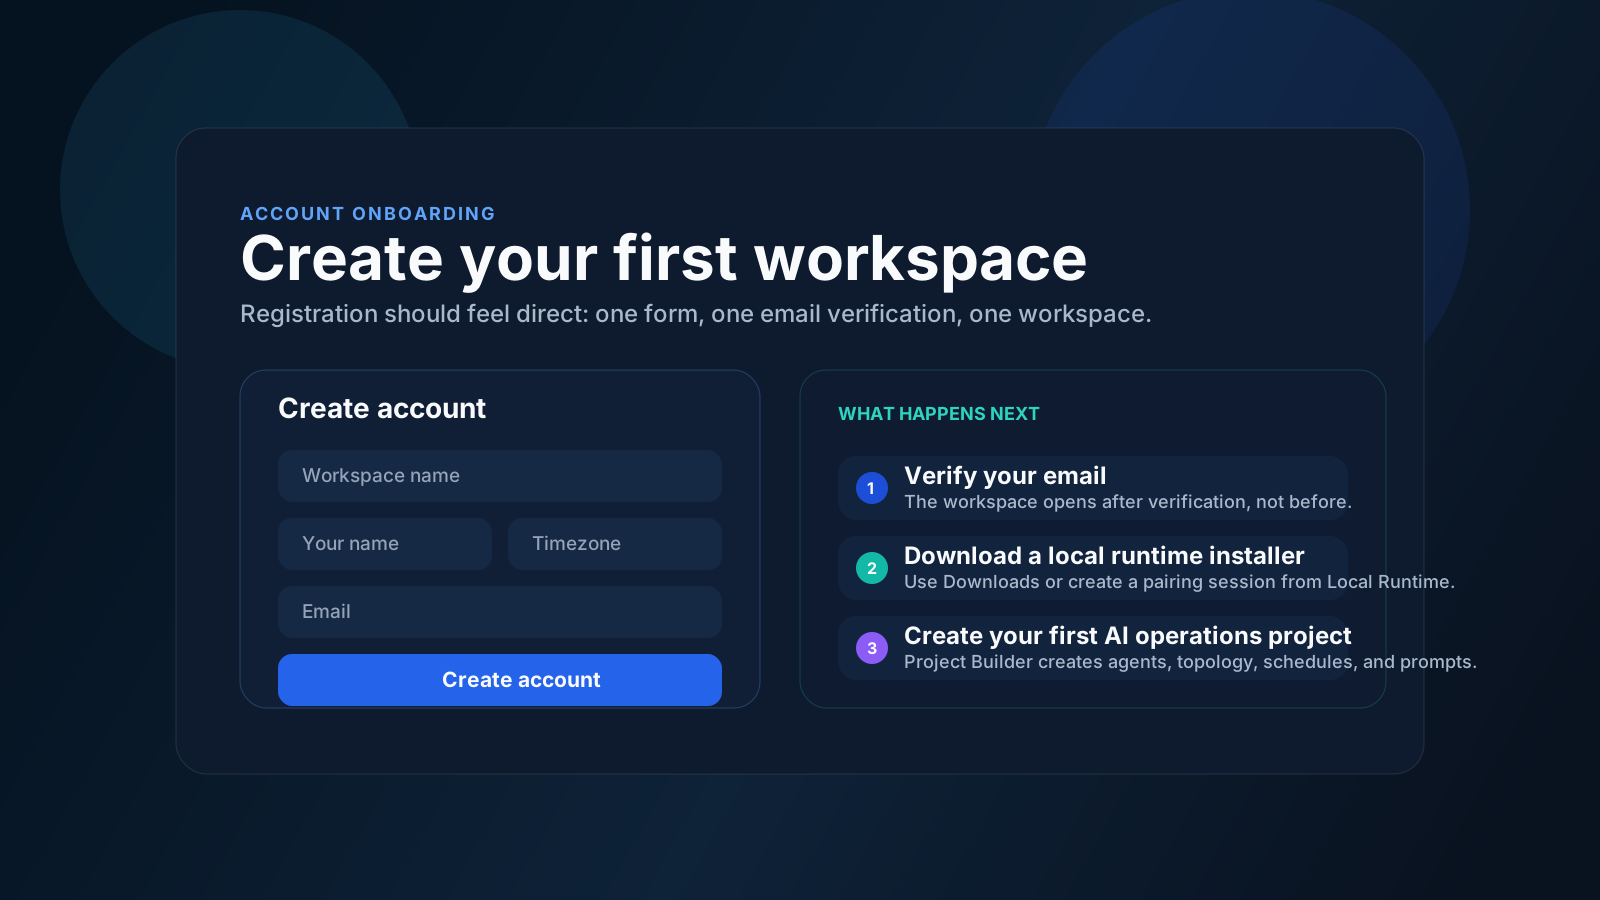
Illustrative account creation surface showing the exact fields a first-time user expects.
1
Open Create Account
From the login page, use Create account. Enter the workspace name, your operator name, email address, timezone, and password.
2
Verify the email
Hermes requires email verification before the workspace can operate. This keeps runtime pairing and secret management tied to a verified operator identity.
Step 3. Local runtime installation
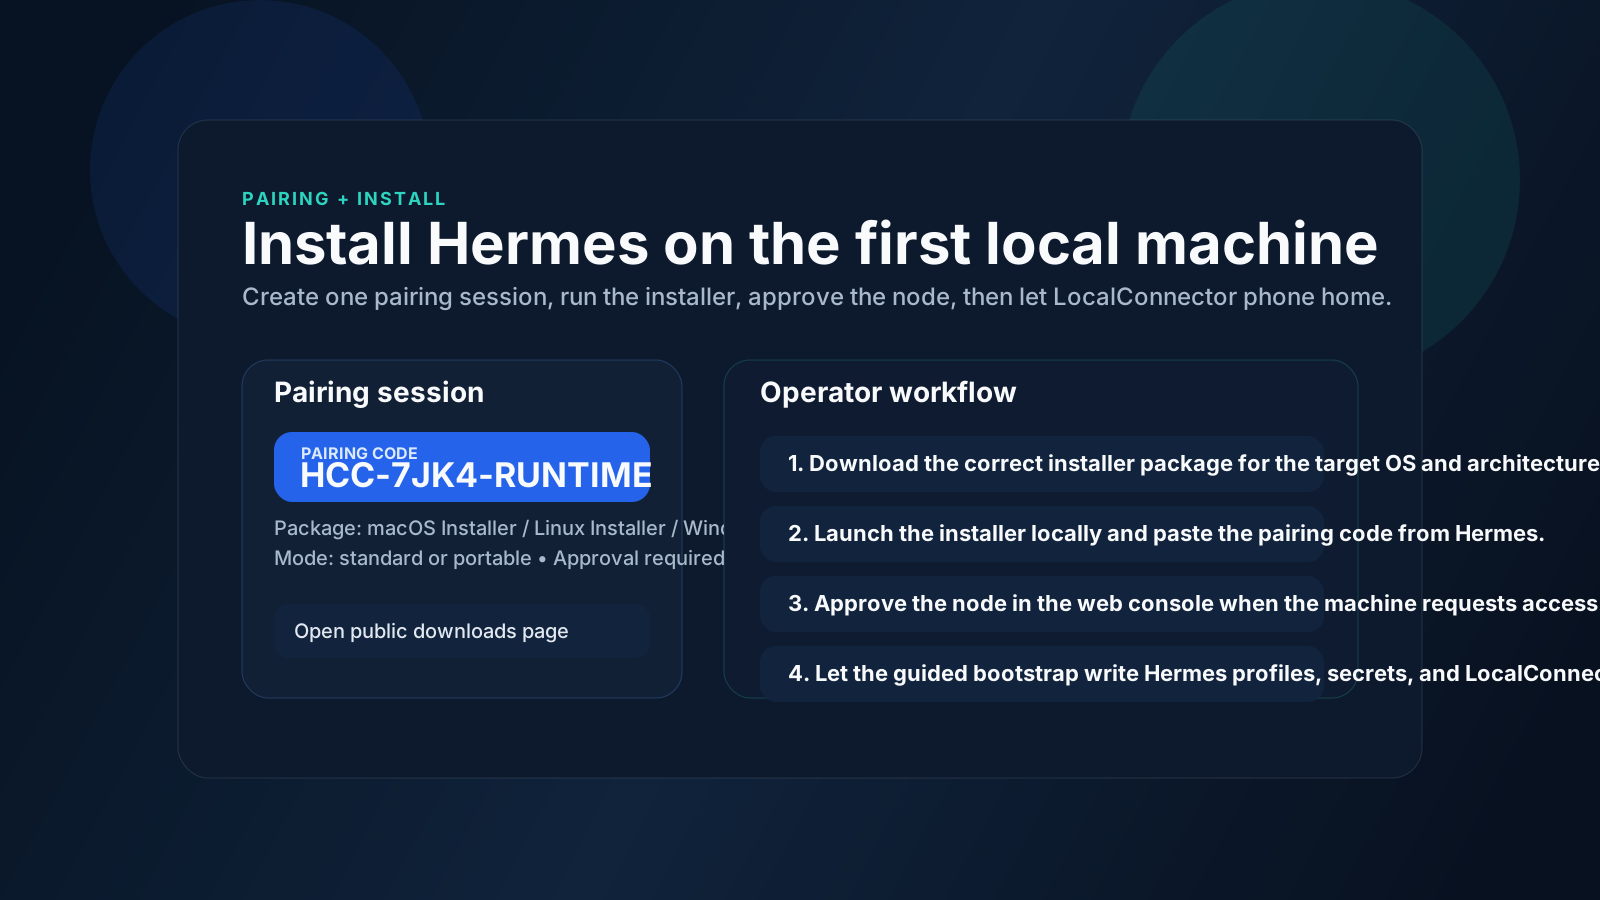
Illustrative local runtime screenshot showing the pairing code, package selection, and approval model.
1
Create a pairing session
In Local Runtime, create a pairing session for the correct operating system, architecture, and install mode.
2
Run the installer locally
Start the downloaded bootstrapper, enter the pairing code, and follow the guided setup for Hermes, LocalConnector, runtime directories, and LLM runtime values such as API key, base URL, and primary model.
3
Approve the machine
When the node phones home, approve it in Hermes Control Center so the bootstrap manifest can be released.
4
Confirm node visibility
After installation, the machine should appear under Nodes as online and available for deployment pickup.
Step 4. Project Builder blueprint
For a first-time team, Project Builder is the primary creation flow. The blueprint description becomes the source that generates workflow type, agent topology, prompts, records, outputs, reviews, and delivery surfaces automatically.
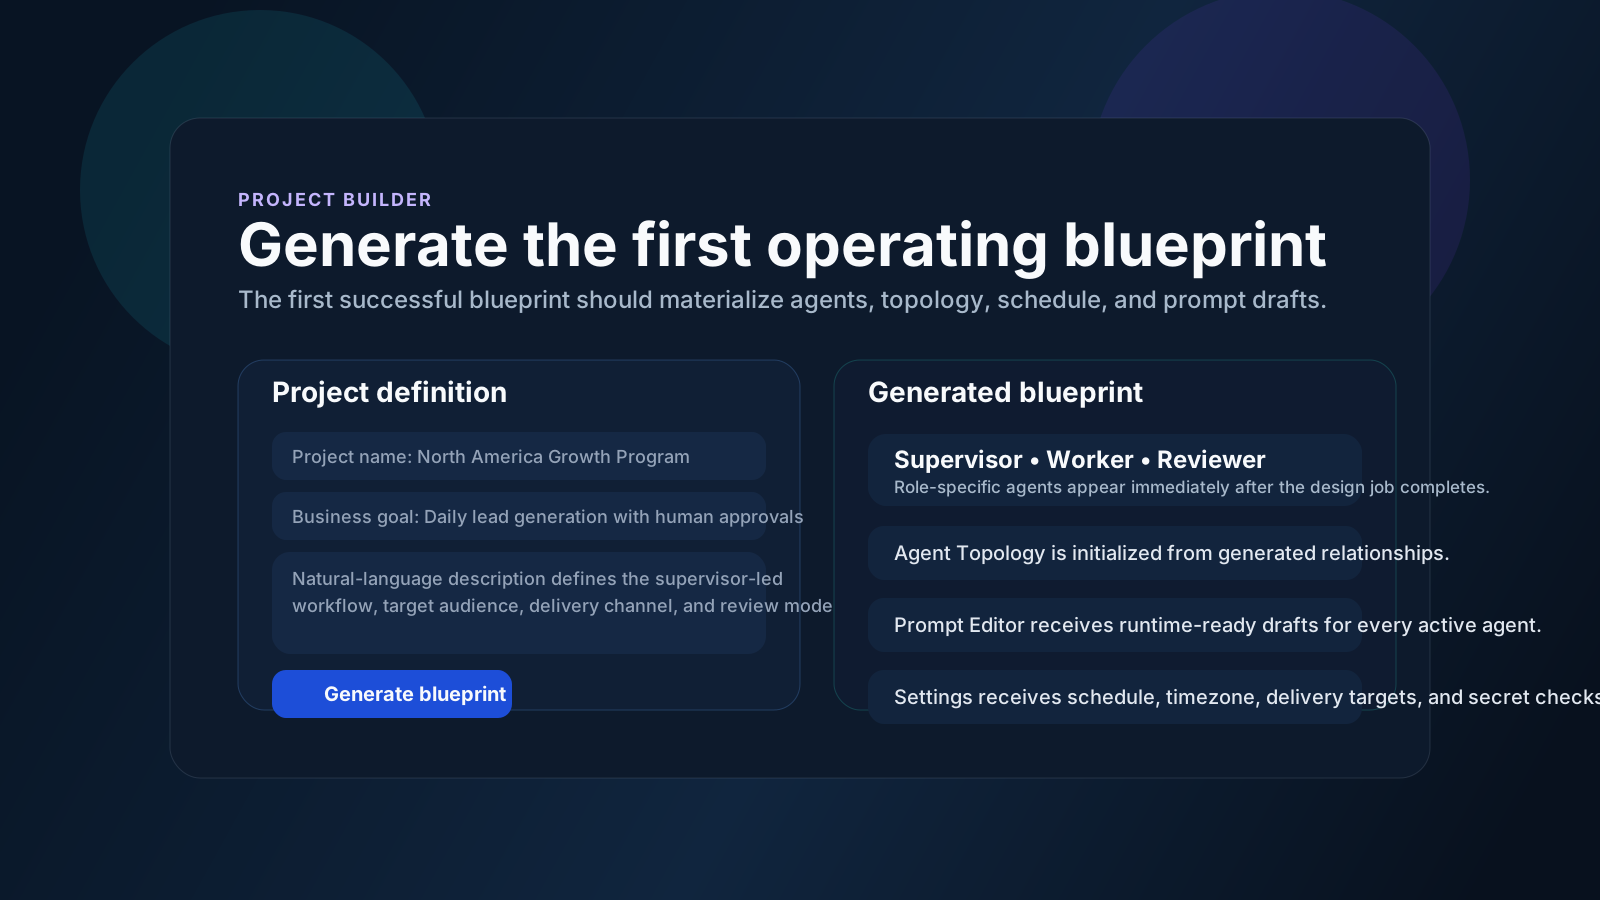
Illustrative Project Builder flow showing how Hermes turns the business description into an operating blueprint.
1
Open Project Builder
Open Project Builder and enter the business description, workflow type, target outcomes, review expectations, and delivery intent.
2
Use plain English
Describe the operating goal, audience, review style, artifact expectations, and delivery pattern rather than implementation details. Hermes uses this context during blueprint generation.
3
Let Hermes create the first project shape
The system uses the blueprint description to generate the first project structure instead of requiring you to hand-build every surface in advance.
4
Do not deploy yet
Deployment should only happen after the blueprint has successfully generated the project and materialized agents, topology, prompt drafts, and schedule.
Step 5. Blueprint verification
When the LocalConnector node is online, use Generate blueprint. The system design task runs through Hermes locally and should create the project and materialize its operating structure automatically.
Project Builder should move from a plain-English operating description to an actionable blueprint.
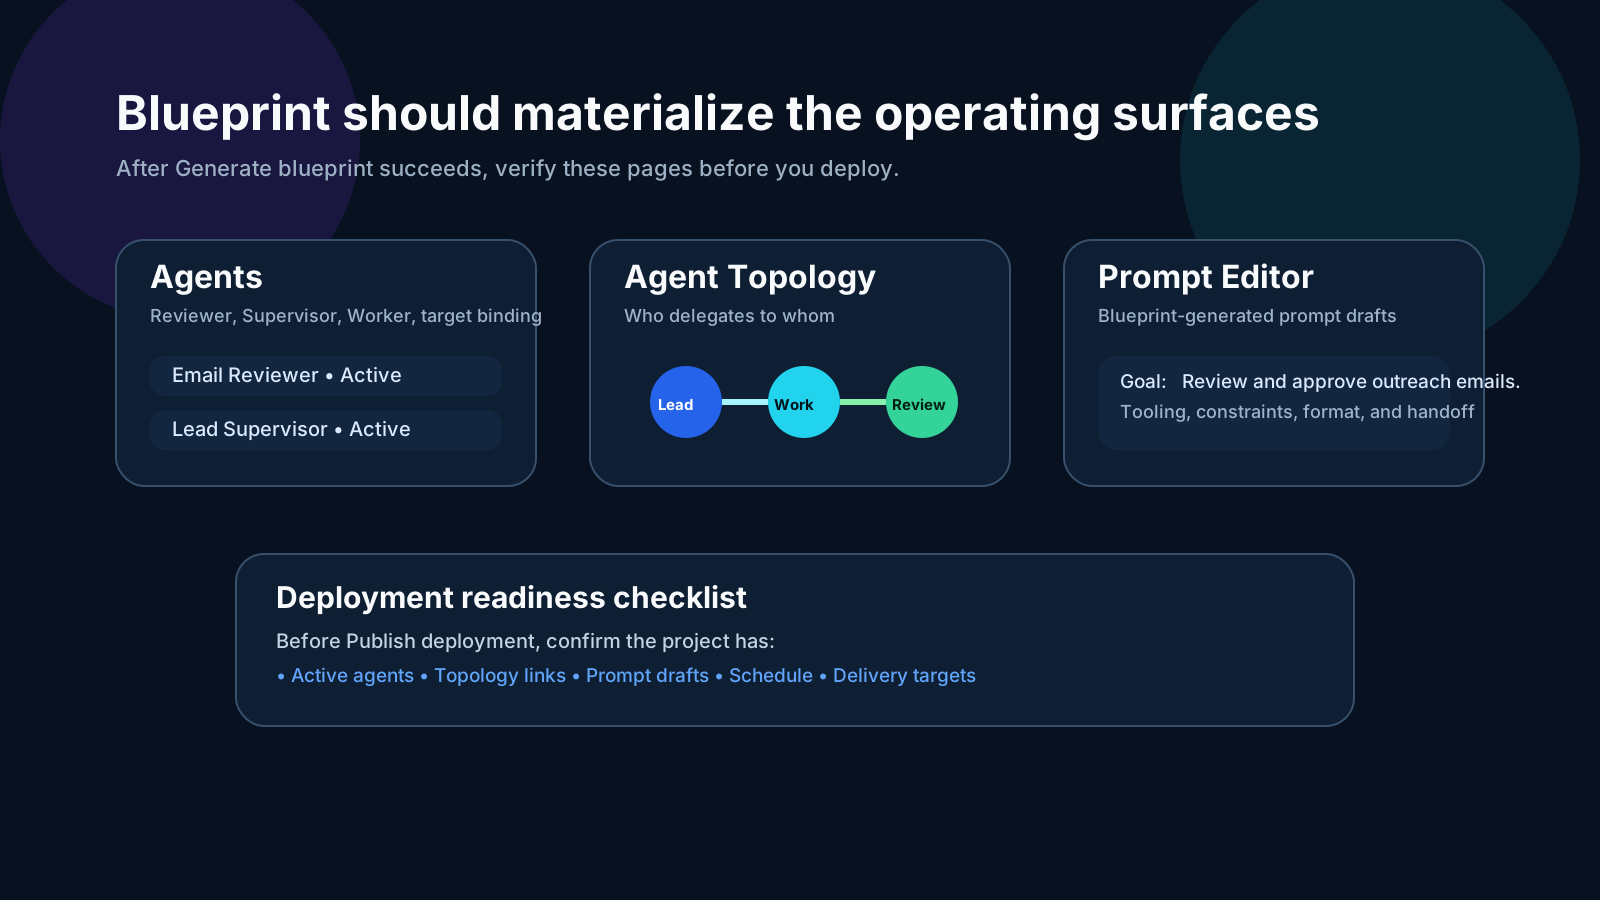
After a healthy blueprint, the project should have active agents, topology links, prompt drafts, and schedule.
A
Expected outputs after a successful blueprint
- Project
- Agents
- Agent Topology
- Prompt Editor drafts
- Workflow record and output contracts
- Project schedule
B
What should not exist yet
- Tasks
- Records
- Outputs
- Approvals, deliveries, and learnings
Those business artifacts appear only after deployment and execution.
Operator checkpoint: if Generate blueprint says it succeeded but Agents, Agent Topology, or Prompt Editor are empty, stop here and regenerate before deployment. Deployment without blueprint artifacts produces weak or stalled runs.
Step 6. Deployment to a live node
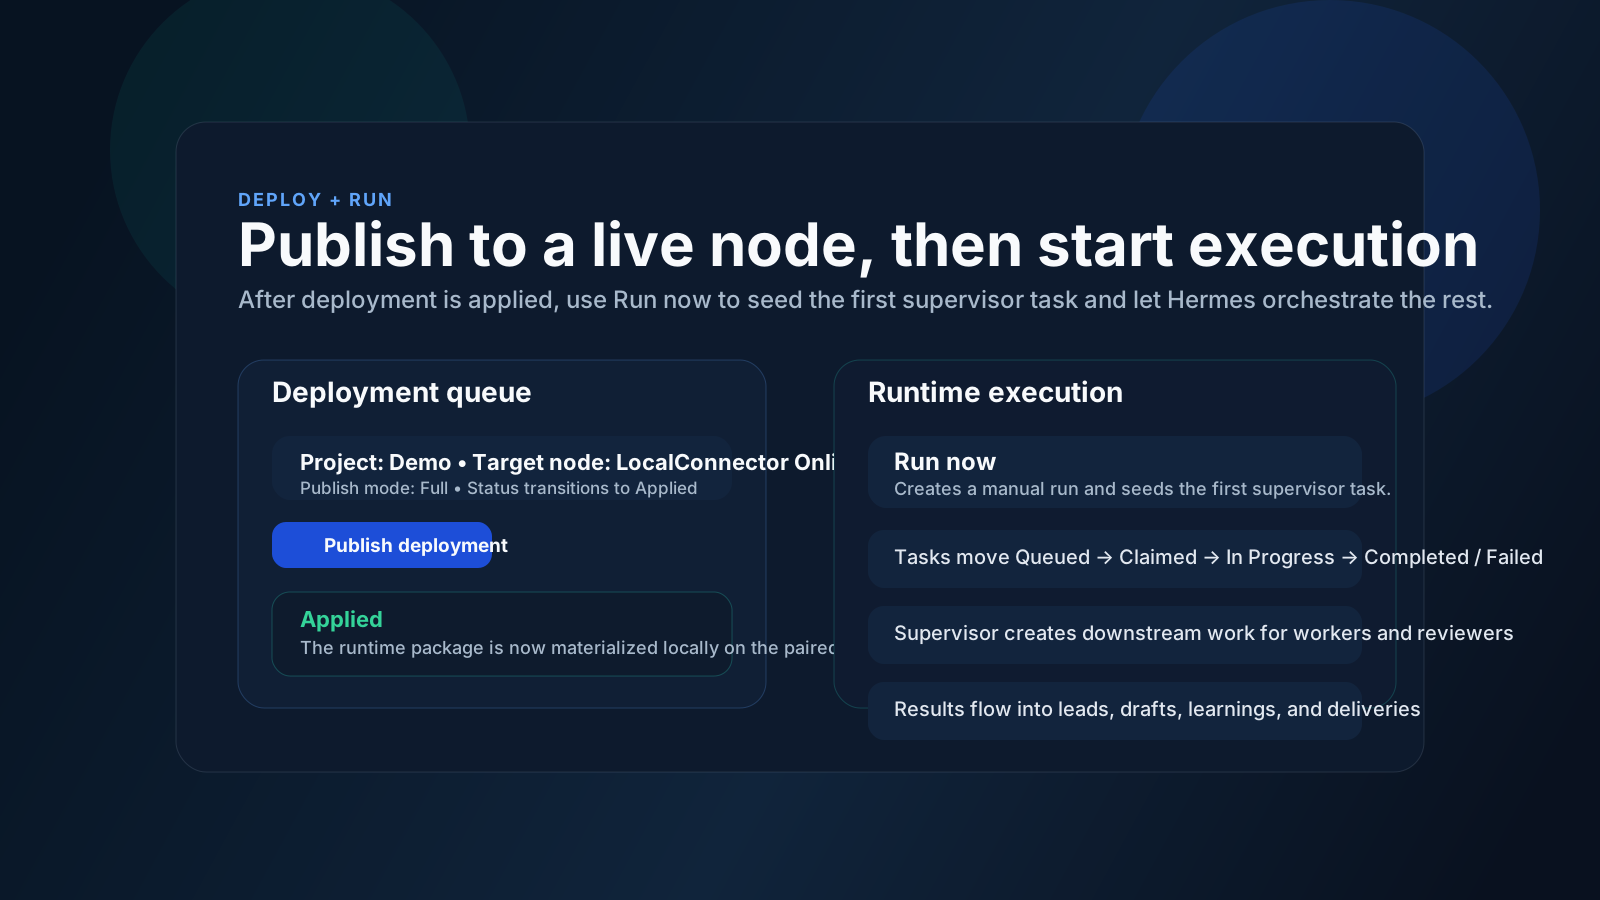
Illustrative control-plane screenshot showing deployment publishing and runtime execution flow.
1
Select project and node
Open Deployments, pick the project, choose an online node, then publish the deployment package.
2
Wait for Applied
The deployment status should move to Applied. That means the node has materialized the runtime profile locally and is ready to execute work.
3
Verify the runtime picked up the package
Keep the LocalConnector online. The node should heartbeat normally and the deployment queue should no longer show the package as pending pickup.
4
Only run after Applied
If the deployment is not applied yet, the run will not have the correct local profiles, prompts, or active agents.
Step 7. First run operations
Use Run now from the Runs page to create a manual execution wave. Hermes seeds a first supervisor task, then creates downstream work as the run develops.
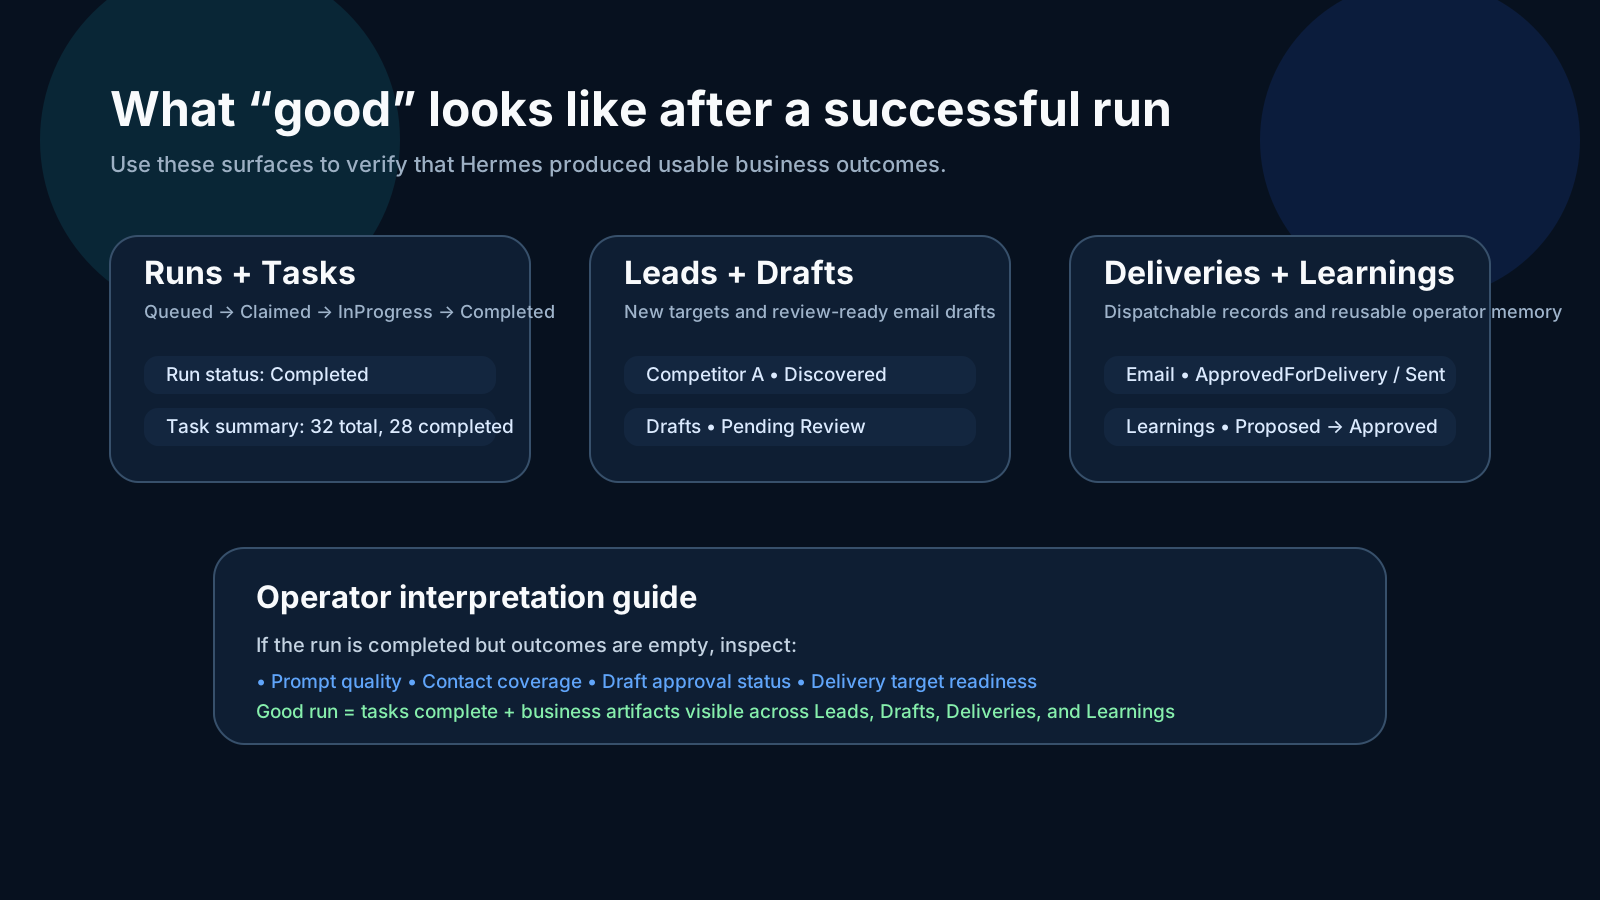
A healthy run expands beyond one coordination task and eventually produces workflow records, outputs, review items, deliveries, or learnings across multiple pages.
1
Expected status flow
A healthy task life cycle normally moves from Queued to Claimed to In Progress and finally to Completed or Failed.
2
One initial task is normal
The first run often begins with one supervisor coordination task. More tasks appear when the supervisor creates work for workers and reviewers.
3
Watch for expansion, not only completion
A strong run should usually create additional tasks after the supervisor task. If the run completes with only one task and no outcomes, inspect prompts, blueprint quality, or local execution errors.
4
Use both Runs and Tasks
Runs show orchestration progress. Tasks show the individual unit history, retries, and agent-specific execution path.
Step 8. Outcome verification
After a successful run, move page by page to confirm that Hermes produced usable business outcomes rather than only a technically completed run.
1
Records
Look for reusable findings, entities, risks, blockers, opportunities, source notes, and workflow-specific records. This confirms the run produced auditable operating memory.
2
Outputs
Review generated reports, recommendations, briefs, customer-facing drafts, action plans, or other deliverables for quality and completeness.
3
Approvals
Inspect review-required outputs, external-facing copy, and sensitive recommendations before anything moves downstream.
4
Runs and Tasks consistency
A run marked Completed should usually correspond to non-empty records, outputs, approvals, deliveries, outreach artifacts, or learnings. Empty outcomes usually signal a quality or configuration gap.
Step 9. Review, learnings, and delivery
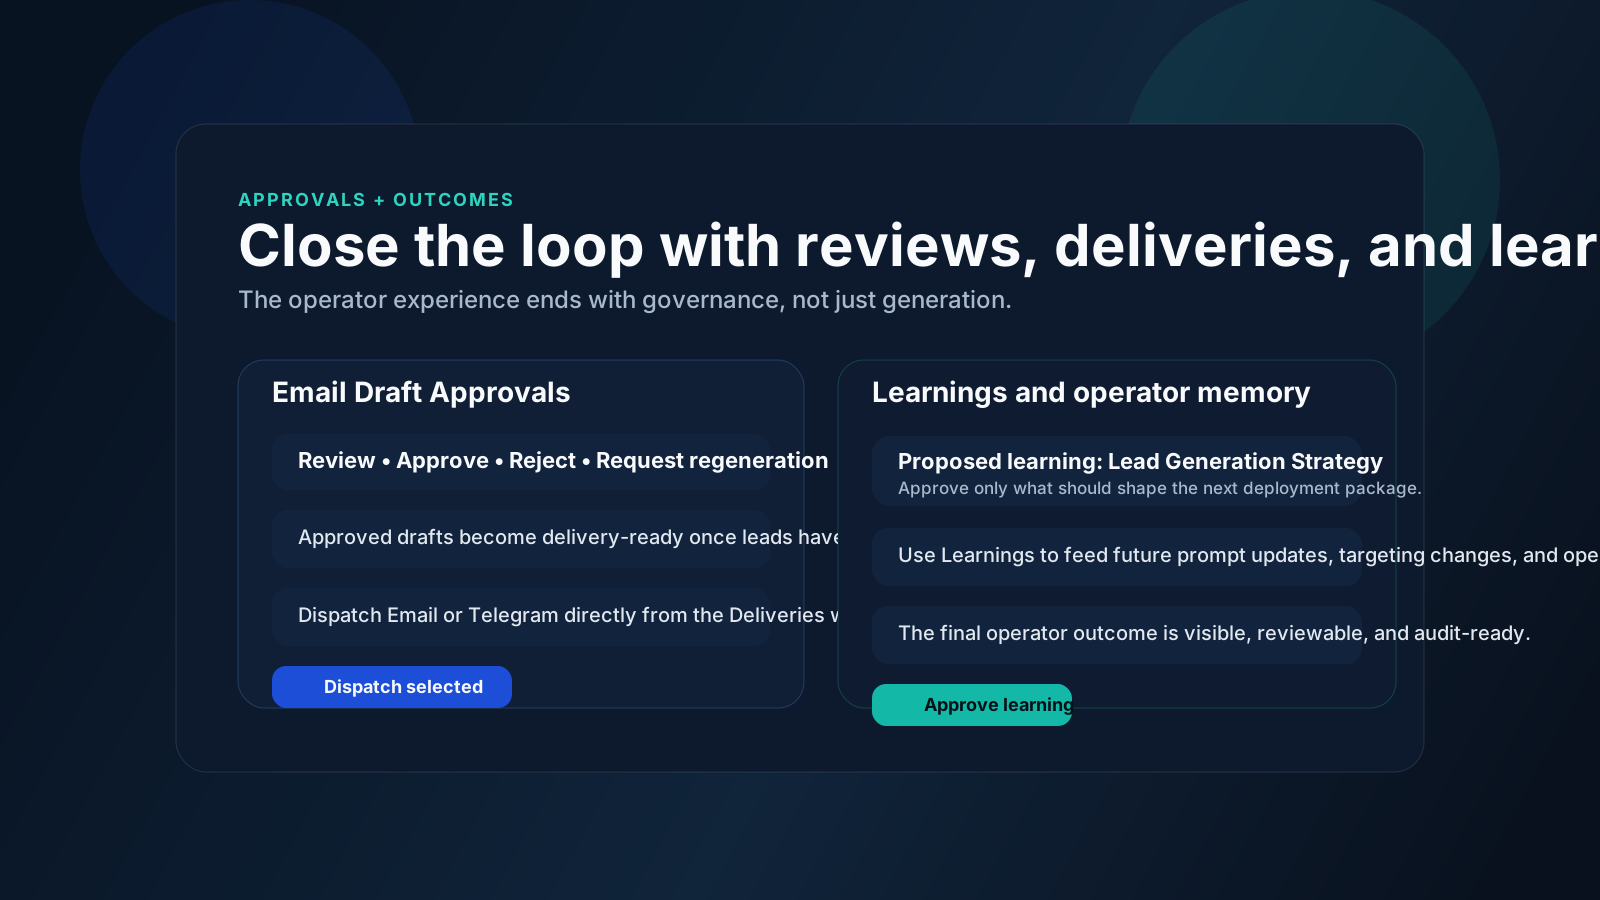
Illustrative operator screenshot showing the governance phase after Hermes has produced work.
1
Records and Outputs
Review structured records and outputs first. For outreach projects, also review discovered leads and add contacts before dispatching email deliveries.
2
Approvals
Approve strong recommendations or external-facing messages, reject weak duplicates, and request regeneration when evidence, personalization, or compliance needs work.
3
Deliveries
Dispatch approved Email, Telegram, reporting, or notification deliveries. Use the delivery status, error badges, and channel diagnostics to guide action.
4
Learnings
Approve only the learnings that should shape the next deployment package. The learnings surface is an operator memory layer, not a raw log dump.
Step 10. Settings, Telegram, and LLM credentials
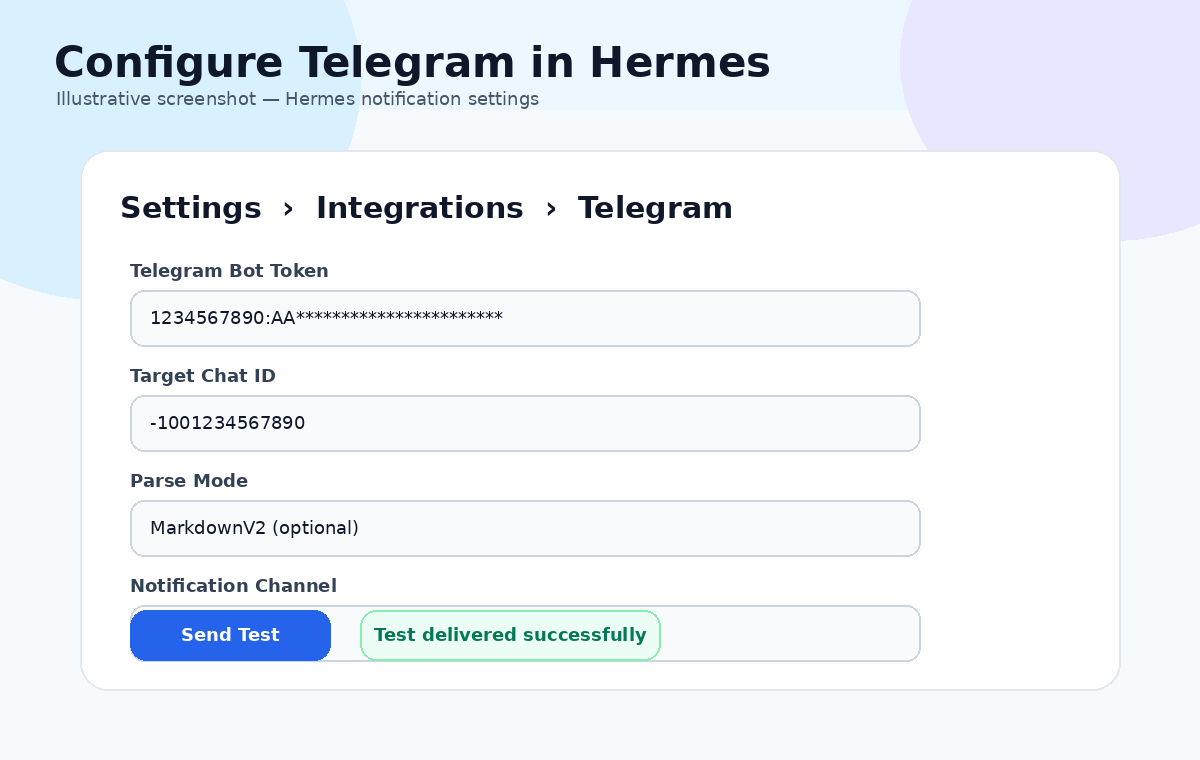
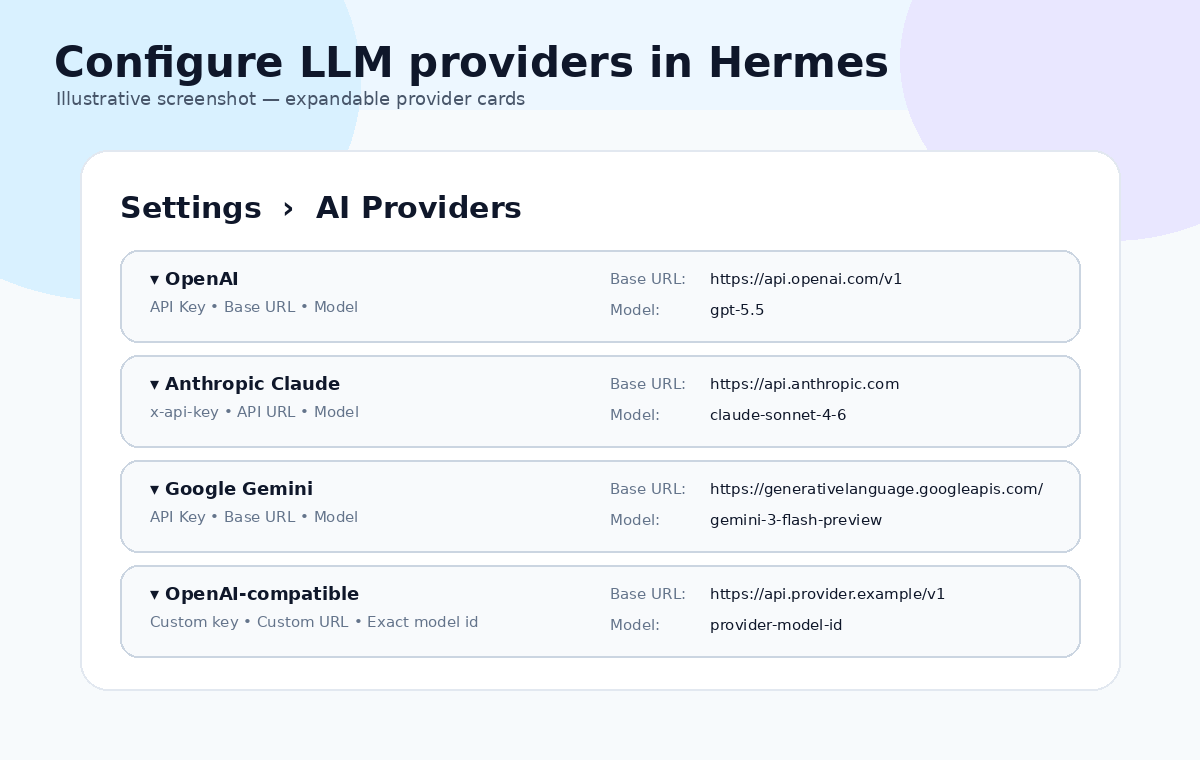
Use the dedicated setup guide for the two pieces new operators most commonly need help with: LLM runtime values during installation and Telegram delivery credentials in Settings.
Telegram delivery
Learn how to create a bot token with BotFather, resolve the right chat ID or public username, store TELEGRAM_BOT_TOKEN in Settings, and validate the target before dispatching.
LLM providers
Learn where to retrieve the API key, base URL, and exact model name for OpenAI, Azure OpenAI, Claude, Gemini, Groq, Mistral, DeepSeek, xAI, OpenRouter, Ollama, and custom OpenAI-compatible gateways, then enter those values during Local Runtime installation.